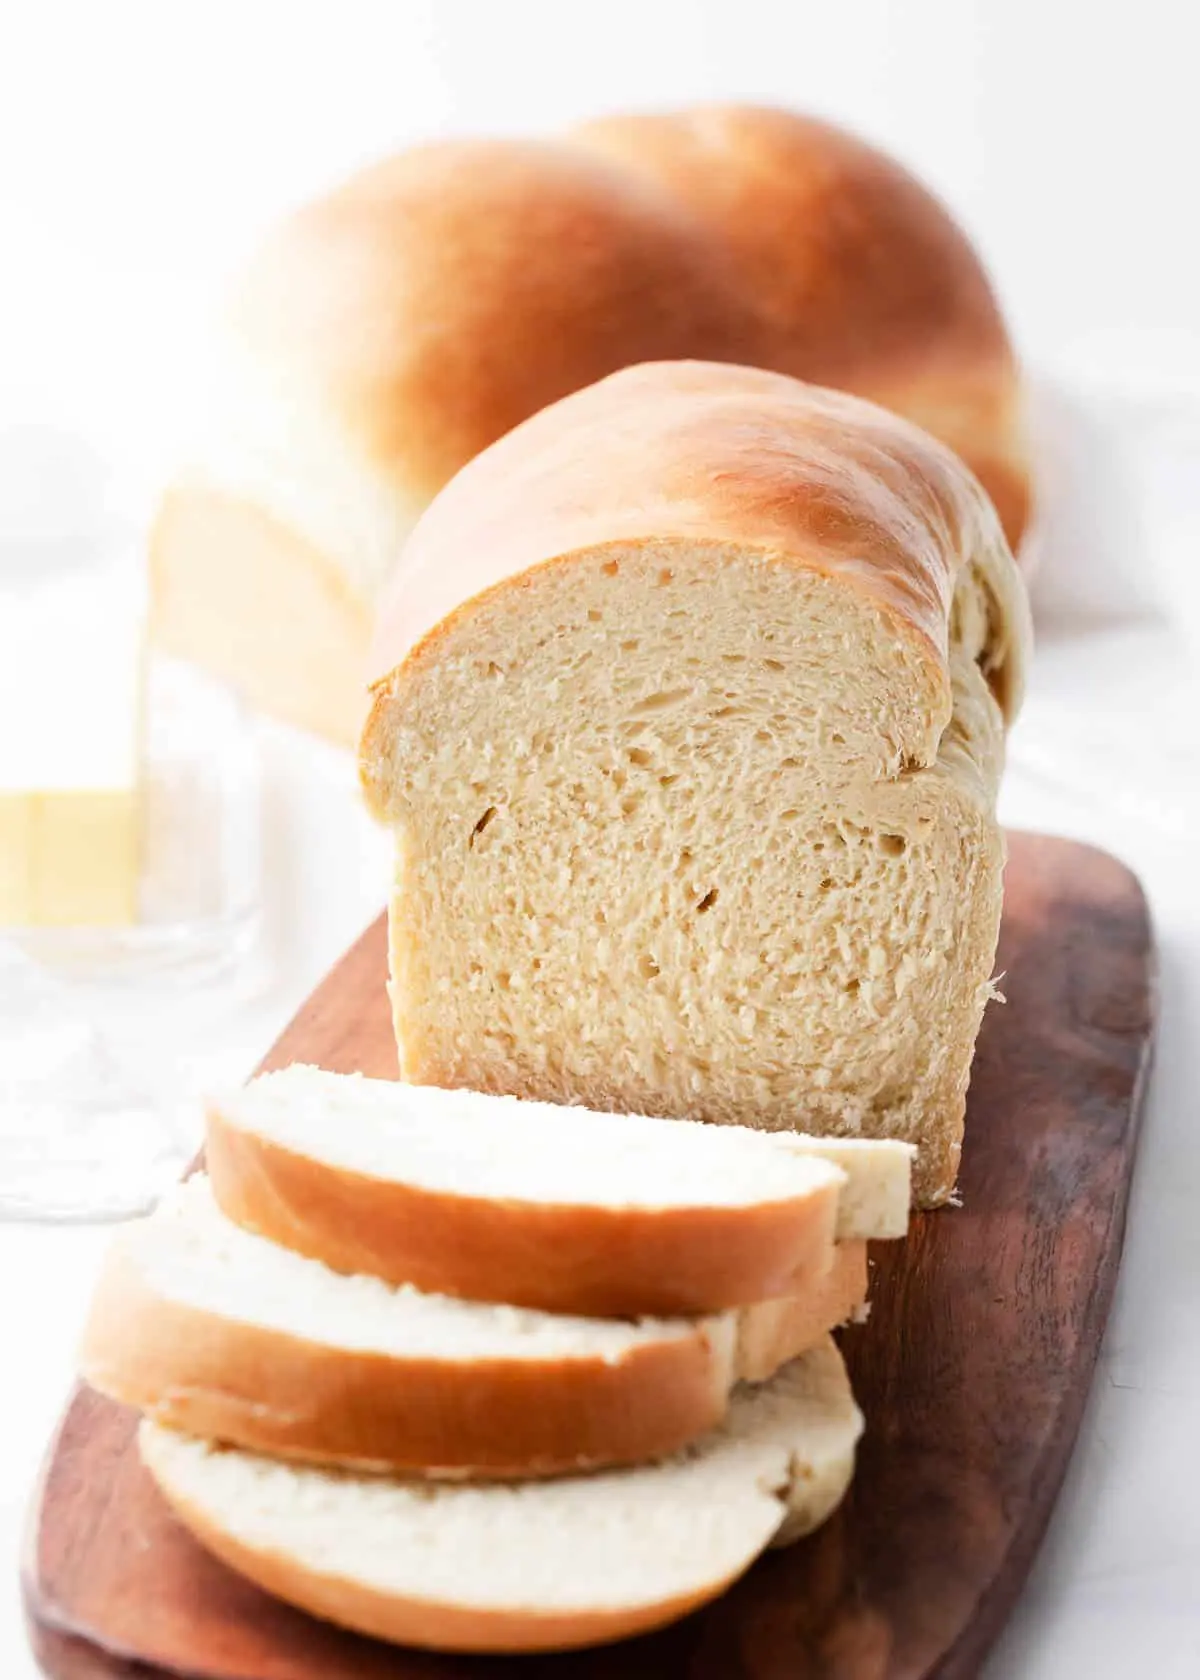
5 Essential Tips for Making the Best Bread at Home

Introduction
Baking homemade bread can be a deeply rewarding experience, filling your kitchen with an irresistible aroma and providing the satisfaction of creating something from scratch. Whether you’re new to bread-making or looking to improve your skills, these five essential tips will guide you toward making the best bread at home. From selecting the right ingredients to mastering the technique, this guide will help you achieve delicious, bakery-quality results https://me-encantas.com/2021/05/18/5-consejos-para-hacer-el-mejor-pan.
1. Choose High-Quality Ingredients The foundation of any great bread starts with high-quality ingredients. Even the most basic loaf can shine when the right ingredients are used.
- Flour: Use bread flour for better texture and structure. Bread flour has a higher protein content, which results in a chewier, stronger dough.
- Yeast: Opt for fresh yeast if possible, as it yields better results. Alternatively, active dry yeast is a common choice, but make sure it’s not expired for best performance.
- Water: Use filtered or bottled water if your tap water has a strong taste. Poor-quality water can negatively affect the dough.
- Salt: Choose fine sea salt or kosher salt. Avoid iodized table salt, as it can alter the flavor.
High-quality ingredients are crucial in getting that perfect rise, texture, and flavor. Always check the freshness of your ingredients, especially yeast, to ensure your bread rises properly.
2. Master the Dough-Kneading Process Kneading is one of the most important steps in bread-making. It develops the gluten network in the dough, which helps it rise and gives it the right texture.
- How to Knead: Use a stand mixer with a dough hook for convenience, or knead by hand. To knead by hand, fold the dough over itself, press down, and push it forward with the heel of your hand. Turn the dough slightly and repeat.
- Kneading Time: Knead the dough for about 10 minutes until it becomes smooth and elastic. A well-kneaded dough will spring back when poked.
- Avoid Over-Kneading: Be careful not to over-knead, as this can result in tough bread. If the dough becomes too elastic, let it rest for a few minutes before continuing.
Learning the right kneading technique is essential to creating the ideal texture for your bread. A dough that’s properly kneaded will rise better and have a softer crumb.
3. Be Patient with Proofing Proofing, or allowing the dough to rise, is a crucial step that should never be rushed. This process allows the yeast to ferment, creating air pockets that give the bread its fluffy texture.
- First Proof: After kneading, place the dough in a lightly greased bowl, cover it with a damp cloth, and let it rise in a warm area. This initial rise can take 1 to 2 hours, depending on room temperature. The dough should double in size.
- Second Proof: After shaping the dough, allow it to rise again before baking. This second proof is shorter, usually around 30 to 60 minutes.
- Ideal Proofing Environment: A warm kitchen is ideal for proofing. If your kitchen is too cold, you can proof the dough in an oven that’s been briefly warmed and turned off, or place the dough near a warm spot like the top of a refrigerator.
Patience during the proofing stages is key to creating light and airy bread. Rushing this process will result in dense, heavy loaves that lack the characteristic rise.
4. Perfect Your Baking Technique Baking bread may seem simple, but a few tweaks in technique can significantly improve your results.
- Preheat the Oven: Always preheat your oven before placing the bread inside. Baking in a hot oven helps the dough rise quickly, setting the structure of the bread.
- Use Steam: For an extra-crusty loaf, create steam in the oven. You can do this by placing a small tray of water on the oven floor or misting the dough with water before closing the oven door. Steam keeps the crust moist initially, allowing the bread to expand fully before crisping up.
- Monitor the Temperature: For most breads, a temperature of 375°F (190°C) to 450°F (232°C) is ideal. Use an oven thermometer to ensure accuracy. Bake until the internal temperature reaches around 190°F (88°C) for soft breads and 205°F (96°C) for crustier loaves.
- Check for Doneness: Tap the bottom of the loaf – a hollow sound indicates that the bread is done. Alternatively, use a food thermometer for precise results.
Perfecting your baking technique, from oven temperature to using steam, ensures your bread has the ideal crust and crumb.
5. Store Your Bread Properly Once you’ve baked the perfect loaf, storing it properly ensures it stays fresh for as long as possible.
- Cool Completely: Let the bread cool on a wire rack before slicing. Cutting into warm bread can ruin its texture by making it gummy.
- Store at Room Temperature: Store bread in a paper bag or a bread box at room temperature for up to three days. Avoid storing it in plastic bags, as this can cause moisture buildup and make the bread soggy.
- Freeze for Longer Storage: If you don’t plan to eat the bread within a few days, freeze it. Slice the bread before freezing, so you can easily thaw individual slices. Wrap it tightly in plastic wrap and place it in a resealable freezer bag.
Proper storage techniques help maintain the freshness of your bread, ensuring you can enjoy it over several days or even weeks.
Conclusion
Making the best homemade bread requires attention to detail, patience, and practice. By choosing high-quality ingredients, mastering the kneading process, being patient with proofing, perfecting your baking technique, and storing your bread correctly, you can consistently bake delicious, bakery-quality bread at home. Now that you have these expert tips, it’s time to put them into action and enjoy the rewards of homemade bread https://me-encantas.com/2021/05/18/5-consejos-para-hacer-el-mejor-pan.


